Image Map

Monday, February 27, 2012

spring spring spring...

With the gorgeous weather over the last few days my mind is well and truly in Spring mode...please Winter, stay away! My husband is going away for the next few days and reminded me last night that he'll be taking the laptop with him too. So I thought I'd squeeeze in a post before he leaves as I want to share with you a photographer I stumbled across on Etsy. She is Sonja Caldwell and her photos are so beautiful. I love this one she took in Paris...perfect for my spring mood!


Have a great week!

Wednesday, February 22, 2012

a little introduction (4 months in)...

Those of you who follow Blackberry Grove on facebook may have noticed the updates about our new website and our online shop. This has been a long time coming and we're really excited to have this finally up and running! So I've decided that there is no better time than now to fully introduce you to Blackberry Grove...


                  "Blackberry Grove is a small business selling all sorts of loveliness for your home. We believe that you shouldn't have to pay the earth to make your home somewhere you love to be. The little touches are what makes your home your home - and we love finding those beautiful finishing touches for you.
We are Elizabeth & Ruth, we run the shop, and our talented & creative blogger, Hannah. We're mum's who were desperate to find a work-life balance that worked for our growing families, so Blackberry Grove was born...
And it's so exciting! We get to shop for a living, and sit with a cuppa looking through catalogues of gorgeous things whilst legitimately being able to say we're working - what girl wouldn't like this job!? OK, so there's long hours doing the not so glam stuff but we're hoping you like what you see and it'll all be worth it.
We are committed to bringing you the very best gifts and home wares from the very best designers with the very best service. 
We may be small right now, but we are building firm foundations for our growth ensuring we perfect each small step before moving on and are really excited about what the future holds.
You can shop with us through our Blackberry Grove Gifts eBay shop where we accept Paypal or personal cheque, or follow us on Facebook and you can see our full range and be updated with the latest news and simply email or call us to place your order.
If you would like to see our pretty things in person, we also have a concession in the lovely Cafe No.9 in Bishops Cleeve where you can peruse with a warm welcome and a huge selection of truly delicious cake to keep you company!
And to top it off we have the Blackberry Grove blog bringing us creative ideas and sharing know-how with a variety of projects, and pretty photography, have a look and brighten up your day. "

Ruth is my (I'm Hannah!) very talented big sister. When she told me that she and Liz were going to set up an online business I couldn't resist offering to write a blog for them. It gave me a chance to channel - and hopefully motivate - my crafting and also advertise their gorgeous business. It's been a fab four months for both the shop and the blog and we can't wait to keep bringing you beautiful things and ideas to fill your home with.

So take a look at the new website and shop, you can also access them on the tabs at the top of the page.

Thanks for all your support so far!

Thursday, February 16, 2012

Love and pancakes...

Now for me, Shrove Tuesday wins over Valentine's day everytime...I have no idea why I need a special day dedicated to pancakes but it seems to be the only time of year that I get round to making them :)

I don't know whether you're a lemon and sugar kind of person but I rarely move away from my staple golden syrup. But I was drooling looking through last year's good food magazine ( I like to hoard them) and came across a pancake cake which I never ended up making. So may I introduce you to the reason why 21st February can't come soon enough for me...


Things have been a bit quiet round here and probably will be for a little while longer. It has been a super busy month for us and I've not had much time for crafting. I made a clutch bag the other week but have yet to find time to write up the tutorial!!

Saturday, February 11, 2012

Food, glorious food...

Some lovely friends of mine are coming to dinner this week, so I've been looking through my stack of good food for inspiration...and then moved onto my recipe pinboard on pinterest. I adore looking through recipe books...there's usually one next to my bed for some tasty night time reading! I store away so many recipes which I then forget about! I thought I'd share some of my favourite 'yet to be tried' recipes to tickle your tastebuds this fine weekend :)

Apple cider doughnuts by Desserts for Breakfast (She had me at the title) 
You know, I can take or leave a doughnut but these have me drooling in front of my laptop every time I lay my eyes on this photo. I need these in my life.


Inside out carrot cupcakes over at King Arthur Flour.
I have been wanting to make these for so long!


And for those with a more savoury disposition

Citrus spicy wings by Life is still Sweet.
Sticky fingers here we come.

Chipotle lime steak by patio daddio bbq.

And because everything should end on a sweet note...

Brown butter icecream over at The Novice Chef.
My love affair with brown butter continues...

and finally Honey yoghurt berry ice lollies by Joylicious.
These sound delicious and healthy!

Although I think I'll have to either whack my heating up or wait for the snow to melt before trying the last two.

Monday, February 6, 2012

Baby it's cold outside -so let's get crafting...

Okay so this is a craft post but first let's talk snow! I totally become a kid again when it snows. We had helpfully run out of bread on Sunday morning which gave me the perfect excuse a reason to head out in the snow first thing to the local shop...it all looked sooo pretty :)


Snow aside, I saw a pretty bunting card on pinterest from Little Lovelies. I adore bunting so I knew I had to make it :) I didn't have the link at the time so I just went ahead and made my own version but if you'd like the original tutorial then click on the link above! I realised that I had saved another of her projects some time ago so I spent some time looking over her blog...all I can say is go have a look - she has lots of pretty crafting ideas.

I love receiving and writing little notes. It doesn't happen so much now we have facebook, email etc so it's extra special when a hand written letter lands through the letterbox :) This is a really easy but sweet idea for making your own notes for friends and family.


What you need:
Plain card/thick paper
Craft paper (for the bunting)
String or embroidery thread
Scissors
Craft glue
Thin cardboard (for template)
How to:
1) Cut your plain card to your preferred size. Also cut a small diamond template from the thin cardboard (mine is about 2x4cm).


2)  Trace around the template and cut your chosen paper for the bunting.


3) Fold the diamonds in half to form triangles, trim edges if required.


4) Add a thin layer of glue to the inside of the first triangle and enclose the end of the string within the triangle as you pinch both sides together. I had to hold mine together for a little while to make it stick. Repeat with the rest of the folded triangles, enclosing the other end of the string in the last triangle.


5) Add a thin layer of glue to the back of the first and last triangle and position onto the notecard.


And write a little note to me!

Wednesday, February 1, 2012

The minnie bow {tutorial}...

This will probably be my only post this week as things are pretty busy as we are going to look around prospective cities for us to live later this year! Exciting times...but also busy times :) But I wanted to make sure I got the second installment of 'two bows, two ways' up this week. You can see the mini bow tutorial here. Here goes...


This one is more time consuming as it involves much more sewing but I still had it finished in about an hour...so really not time consuming at all!

What you need:


Fabric (pressed)
Scissors
Snap fasteners x2
Tape measure
Pins
Needle and thread
Dressmakers pencil (or the like)
+
sewing machine
iron

1) Press and cut three pieces of fabric - 6.5"x9", 2"x 3.5" and 4"x waist width+2"

2) To make the bow: Take the 6.5"x9" fabric and fold in half (right sides together). Pin and sew with a 3/8" (1cm) hem. Press the hem and turn right way out.


3) Fold in half again (raw edges together) with the seam on the outside. Pin and sew (You'll be bored of me saying this). Again press the edges and turn right side out so that the original seam can no longer be seen.


4) Sew 3 large running stitches through the middle of the fabric and push the fabric together to create a bow shape. Wrap the thread tightly around the middle and secure with a knot.


5) Now for the middle section. Take the 2"x3.5" fabric and fold the short side in half (wrong sides facing). Pin and sew. Press the edges. Again fold the raw edges together with seam facing out and sew together. Turn right side out so both seams are inside the newly formed loop of fabric. If you think you want to make both the hair bow and belt without making two bows, then just make two middle sections and you can switch them main bow between the two accessories (I like little cheating tips!)


6) For the hair bow: I prefer not to glue the grip because then I can switch it between accessories. If you wish to glue then do this now (where the seam is) and leave to dry. Thread the bow through the middle section and attach grip (if not gluing!). Then wear your beautiful bow proudly knowing you just created it!


7) For the belt: Leave the bow and middle section separate and place to one side. Measure your waist width and cut fabric 4"xwaist width+2". Fold it in half (right sides together) and pin. Sew and press the edges. Turn right side out and press with the seam in the middle.


8) To create neat ends simply tuck the raw edges inside the belt and sew to secure. It's useful to use matching thread as this may slightly show once the belt is finished. I'd like to say I went for black to make it easier to show you...but I just forgot to pick up yellow thread!


9) Measure and mark two dots 1/2" from each end with a dressmakers pencil/chalk. Sew on the snap fasteners. I used two pairs as it is quite a bit wider than the mini bow belt. Remember to sew the fasteners onto opposite sides of the fabric!


10) Take the middle section of the bow and add a thin layer of glue to the back. Secure to one of the ends of the belt (about 1/2" in). Leave to dry. Once dry simply thread the bow through the middle section. And all is finished!


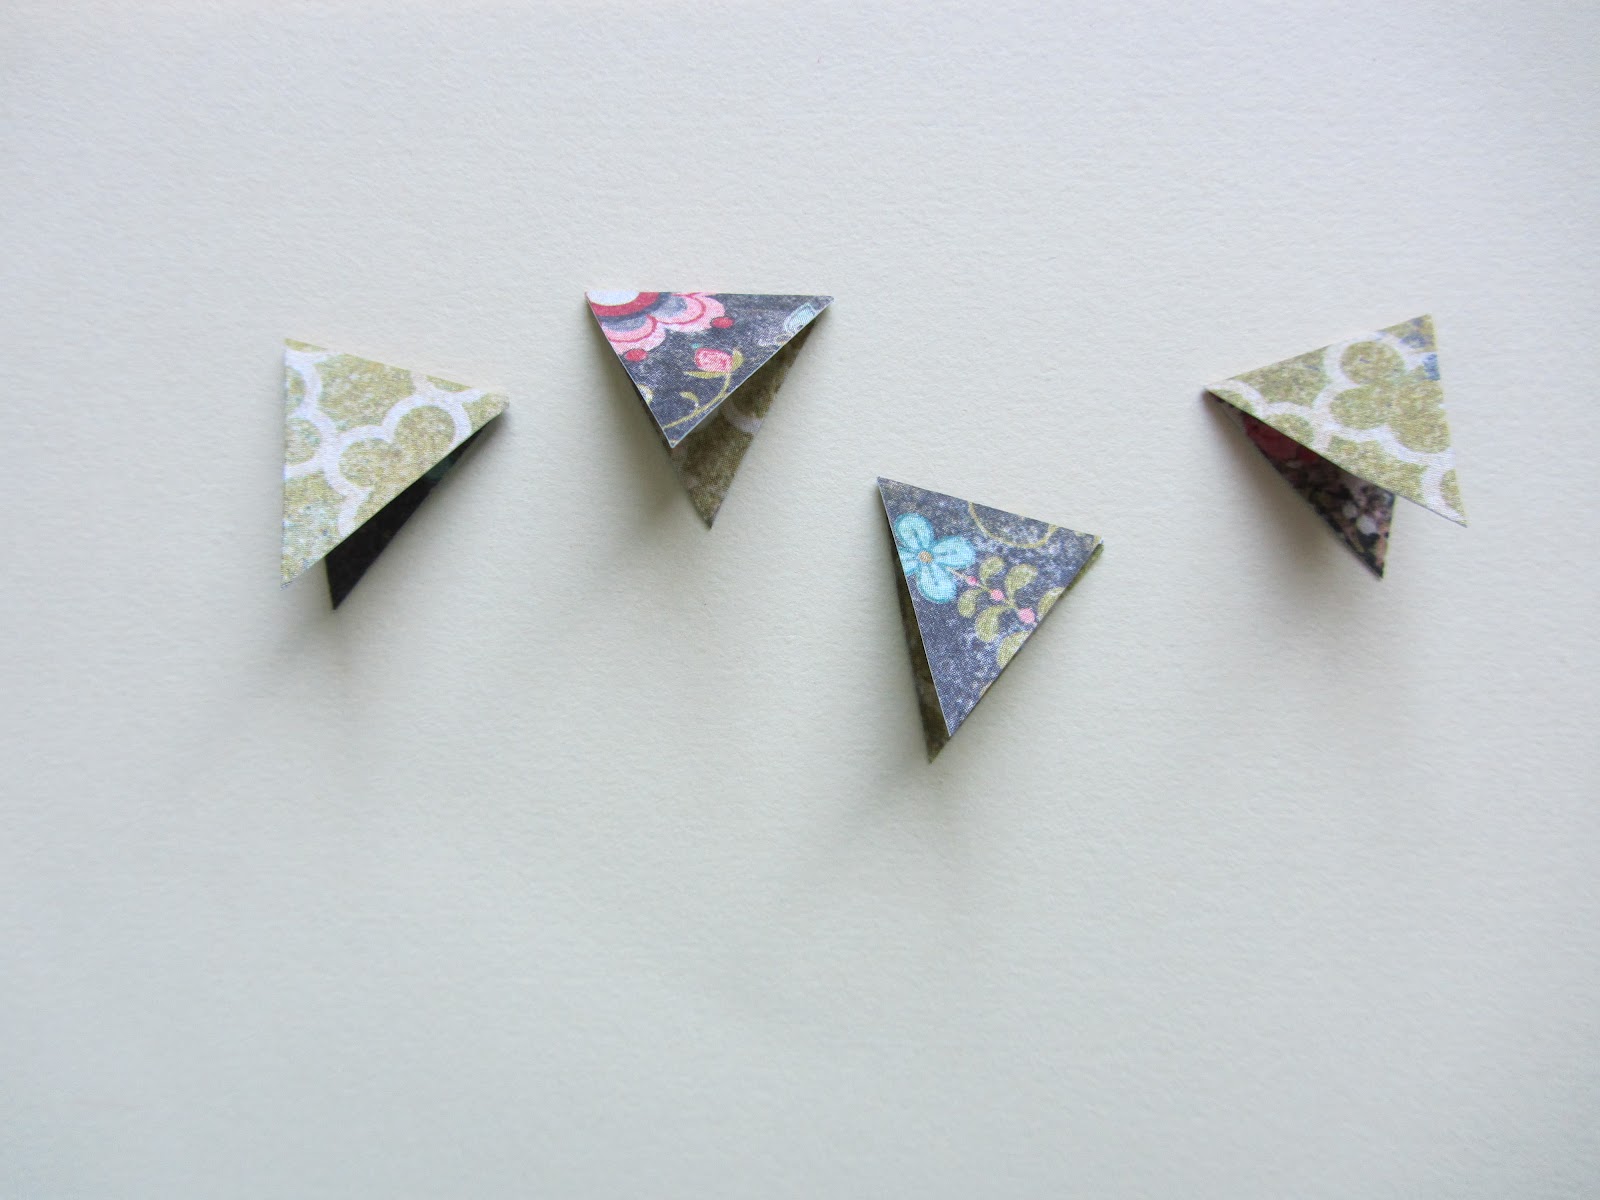
The yellow fabric is making me long for Summer :)
I hope you all have a great week!
Related Posts Plugin for WordPress, Blogger...